Make cocos2dx-js modulization with webpack2
It is really easy to make small games with cocos2dx-js. But while project scale getting larger, there are 2 things would make you crazy.
- All the classes defined in global scope, you should always take care when name a new class.
jsListin project.json is more and more difficult to maintain.
Then it’s time to make cocos2dx-js project modulization.
Here are the steps of how to make cocos2dx-js modulization with webpack2.
1. Create cocos2dx-js project
cocos new CocosJSWebpack -p com.jmengxy.ccwebpack -l js
2. Add webpack to project
Create package.json
{
  "name": "CocosJSWebpack",
  "version": "1.0.0",
  "main": "main.js",
  "repository": "",
  "author": "",
  "license": "MIT",
  "scripts": {
      "start": "webpack && cocos run -p web"
  },
  "dependencies": {
    "lodash": "^4.17.4"
  },
  "devDependencies": {
    "webpack": "^2.5.1",
    "webpack-dev-server": "^2.4.5"
  }
}
Create webpack.config.js
/* webpack.config.js */
const _ = require('lodash');
const webpack = require('webpack');
const path = require('path');

const SRC_DIR = path.resolve(__dirname, 'src');
const NODE_MODULES_DIR = path.resolve(__dirname, 'node_modules');
const OUTPUT_DIR = path.resolve(__dirname, 'dist');

var npmModules = require('./package.json').dependencies;
var vendorLibs = [];
if (npmModules) {
    _.each(npmModules,function (item, key) {
        vendorLibs.push(key);
    });
}

module.exports = {
    entry: {
        app: `${SRC_DIR}/init.js`,
        vendor: vendorLibs
    },
    output: {
        path: SRC_DIR,
        filename: "bundle.js"
    },
    plugins: [
        new webpack.optimize.CommonsChunkPlugin({ name: 'vendor', filename: 'vendor.js' })
    ],
    devtool: 'eval',
    resolve: {
        extensions: ['.js', '.json'],
        modules: [
            SRC_DIR,
            NODE_MODULES_DIR
        ]
    }
};
3. Make changes to project
Open project.json and change jsList to
"jsList" : [
        "src/vendor.js",
        "src/bundle.js"
	]
Replace content of main.js with:
/* main.js */
cc.game.onStart = function() {
    app.start();
}

cc.game.run();
Create init.js in /src
/* init.js */
import _ from 'lodash';
import res from './resource';
import HelloWorldScene from './HelloWorldScene';

var g_resources = [];
_.each(res, function(item) {
    g_resources.push(item);
});

window.app = {}; // need a better way to expose a global game objecta

window.app.start = function() {
    var sys = cc.sys;
    if(!sys.isNative && document.getElementById("cocosLoading")) //If referenced loading.js, please remove it
        document.body.removeChild(document.getElementById("cocosLoading"));

    // Pass true to enable retina display, on Android disabled by default to improve performance
    cc.view.enableRetina(sys.os === sys.OS_IOS ? true : false);

    // Disable auto full screen on baidu and wechat, you might also want to eliminate sys.BROWSER_TYPE_MOBILE_QQ
    if (sys.isMobile &&
        sys.browserType !== sys.BROWSER_TYPE_BAIDU &&
        sys.browserType !== sys.BROWSER_TYPE_WECHAT) {
        cc.view.enableAutoFullScreen(true);
    }

    // Adjust viewport meta
    cc.view.adjustViewPort(true);

    // Uncomment the following line to set a fixed orientation for your game
    // cc.view.setOrientation(cc.ORIENTATION_PORTRAIT);

    // Setup the resolution policy and design resolution size
    cc.view.setDesignResolutionSize(960, 640, cc.ResolutionPolicy.SHOW_ALL);

    // The game will be resized when browser size change
    cc.view.resizeWithBrowserSize(true);

    //load resources
    cc.LoaderScene.preload(g_resources, function () {
        cc.director.runScene(new HelloWorldScene());
    }, this);
};
Rename /src/app.js to /src/HelloWorldScene.js
Add import res from './resource'; as first line and export default HelloWorldScene; as last line to HelloWorldScene.js
Replace content of /src/resource.js to
/*  resource.js */
export default {
    HelloWorld_png : "res/HelloWorld.png",
};
4. Every thing done
Then you can type npm start in your command line.
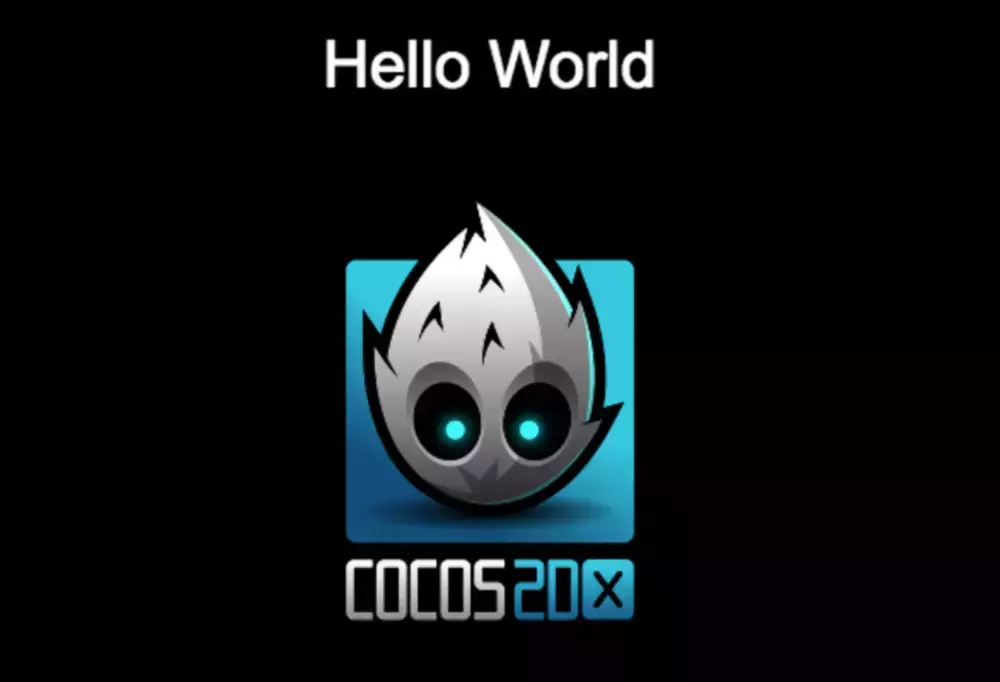
A few seconds later, you would see the image below, congratulations!

Enjoy modulization of cocos2dx-js now.